
SaralInvoice
Full GST invoicing & payment tracking
Generate professional invoices from estimates in a single tap. Handle GST/VAT, discounts and shipping, then record partial payments and track every due.

Step 1
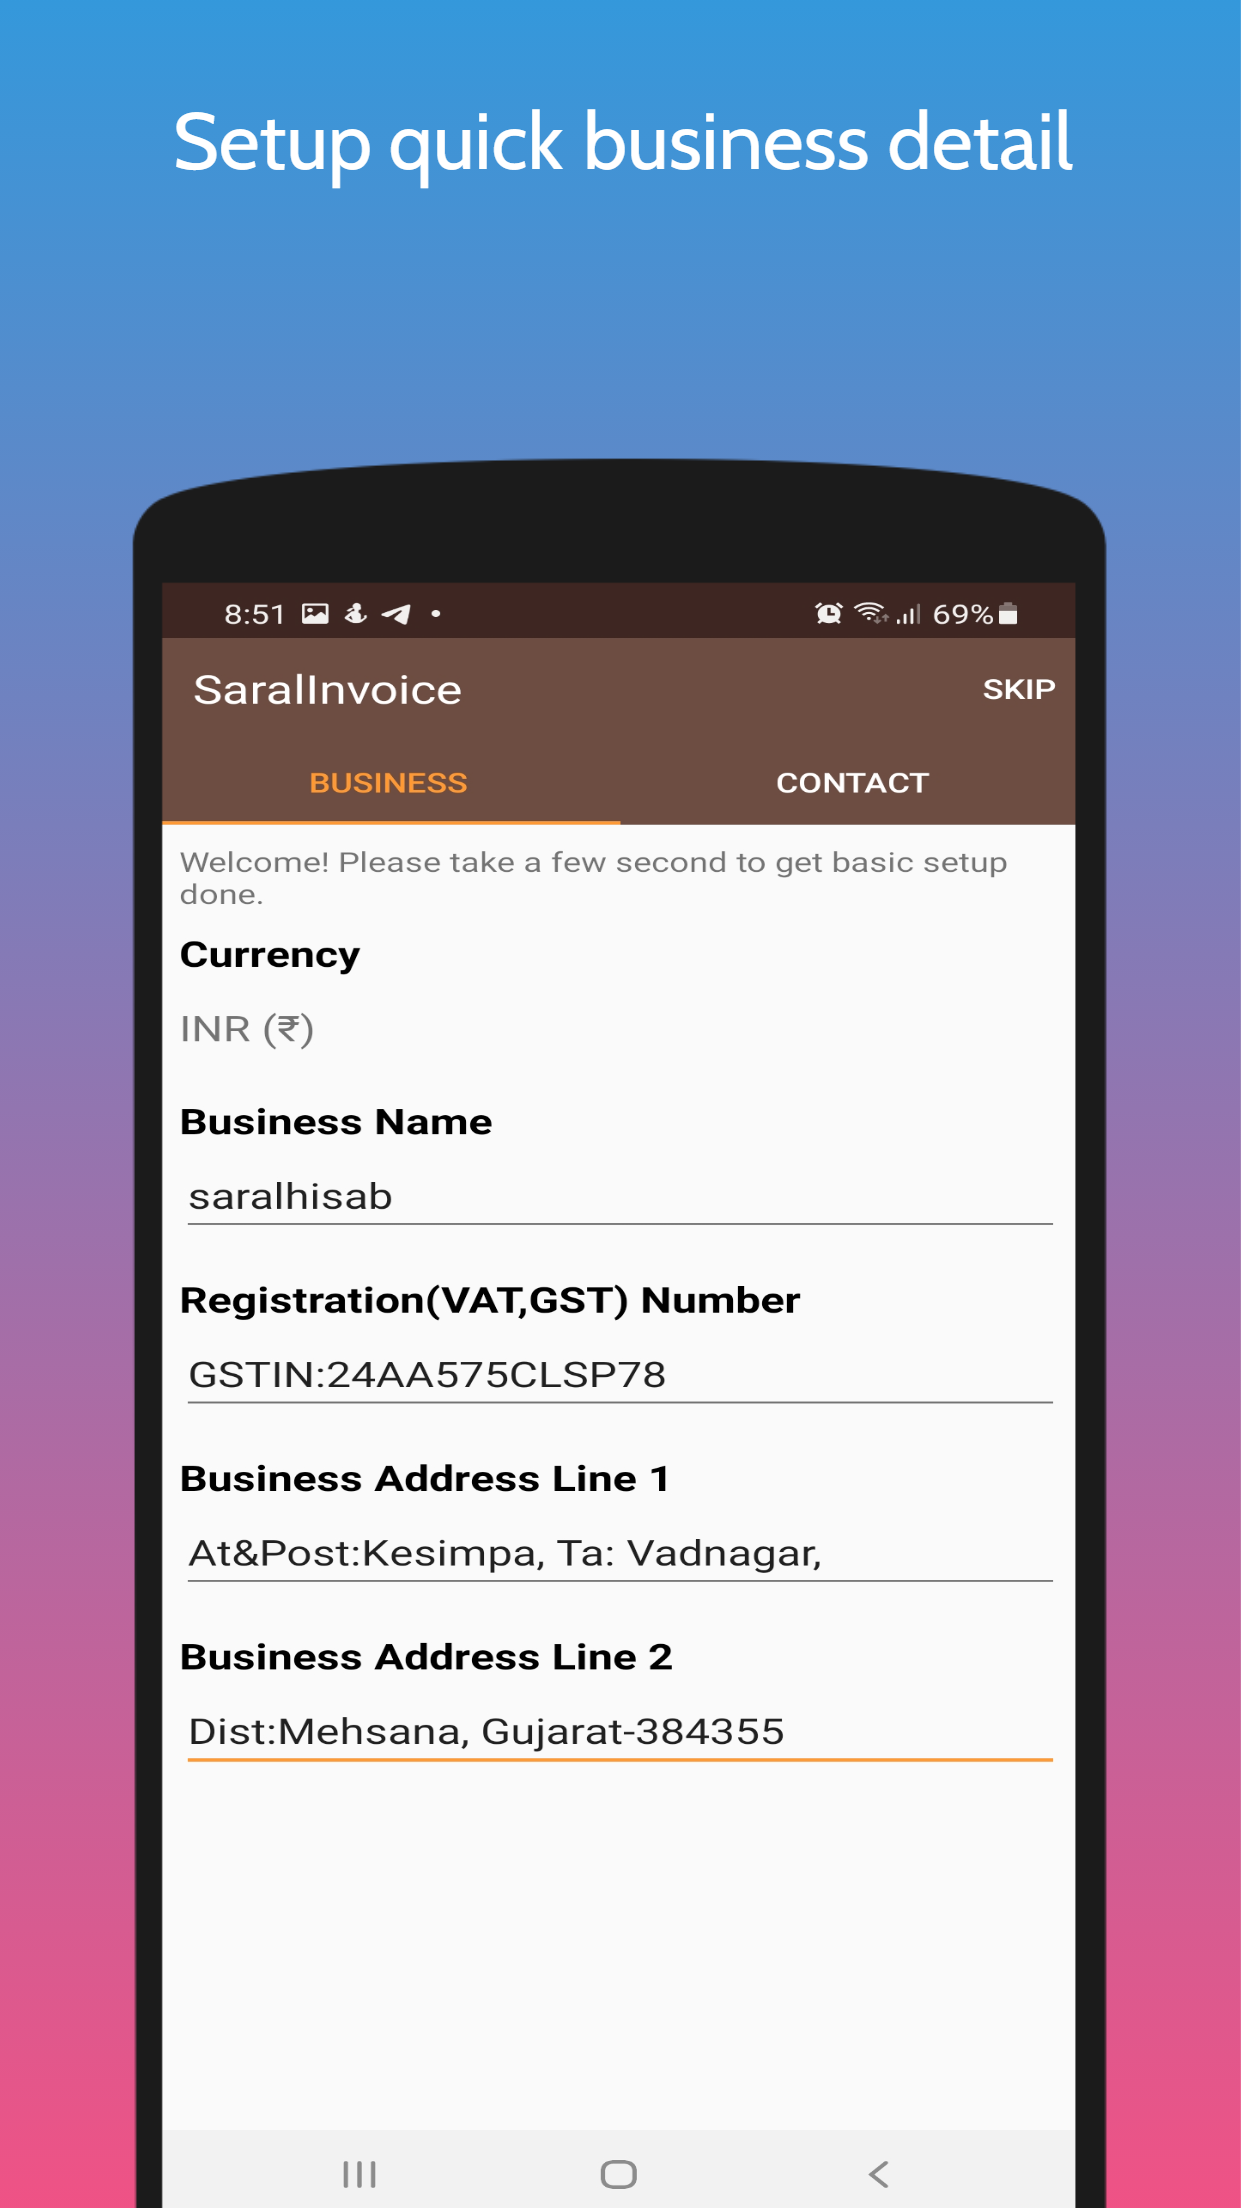
Quick Business Setup
- On first launch the app asks for a quick business setup.
- Add your business name, address and contact details.
- These details are reused in every estimate and invoice.
Step 2
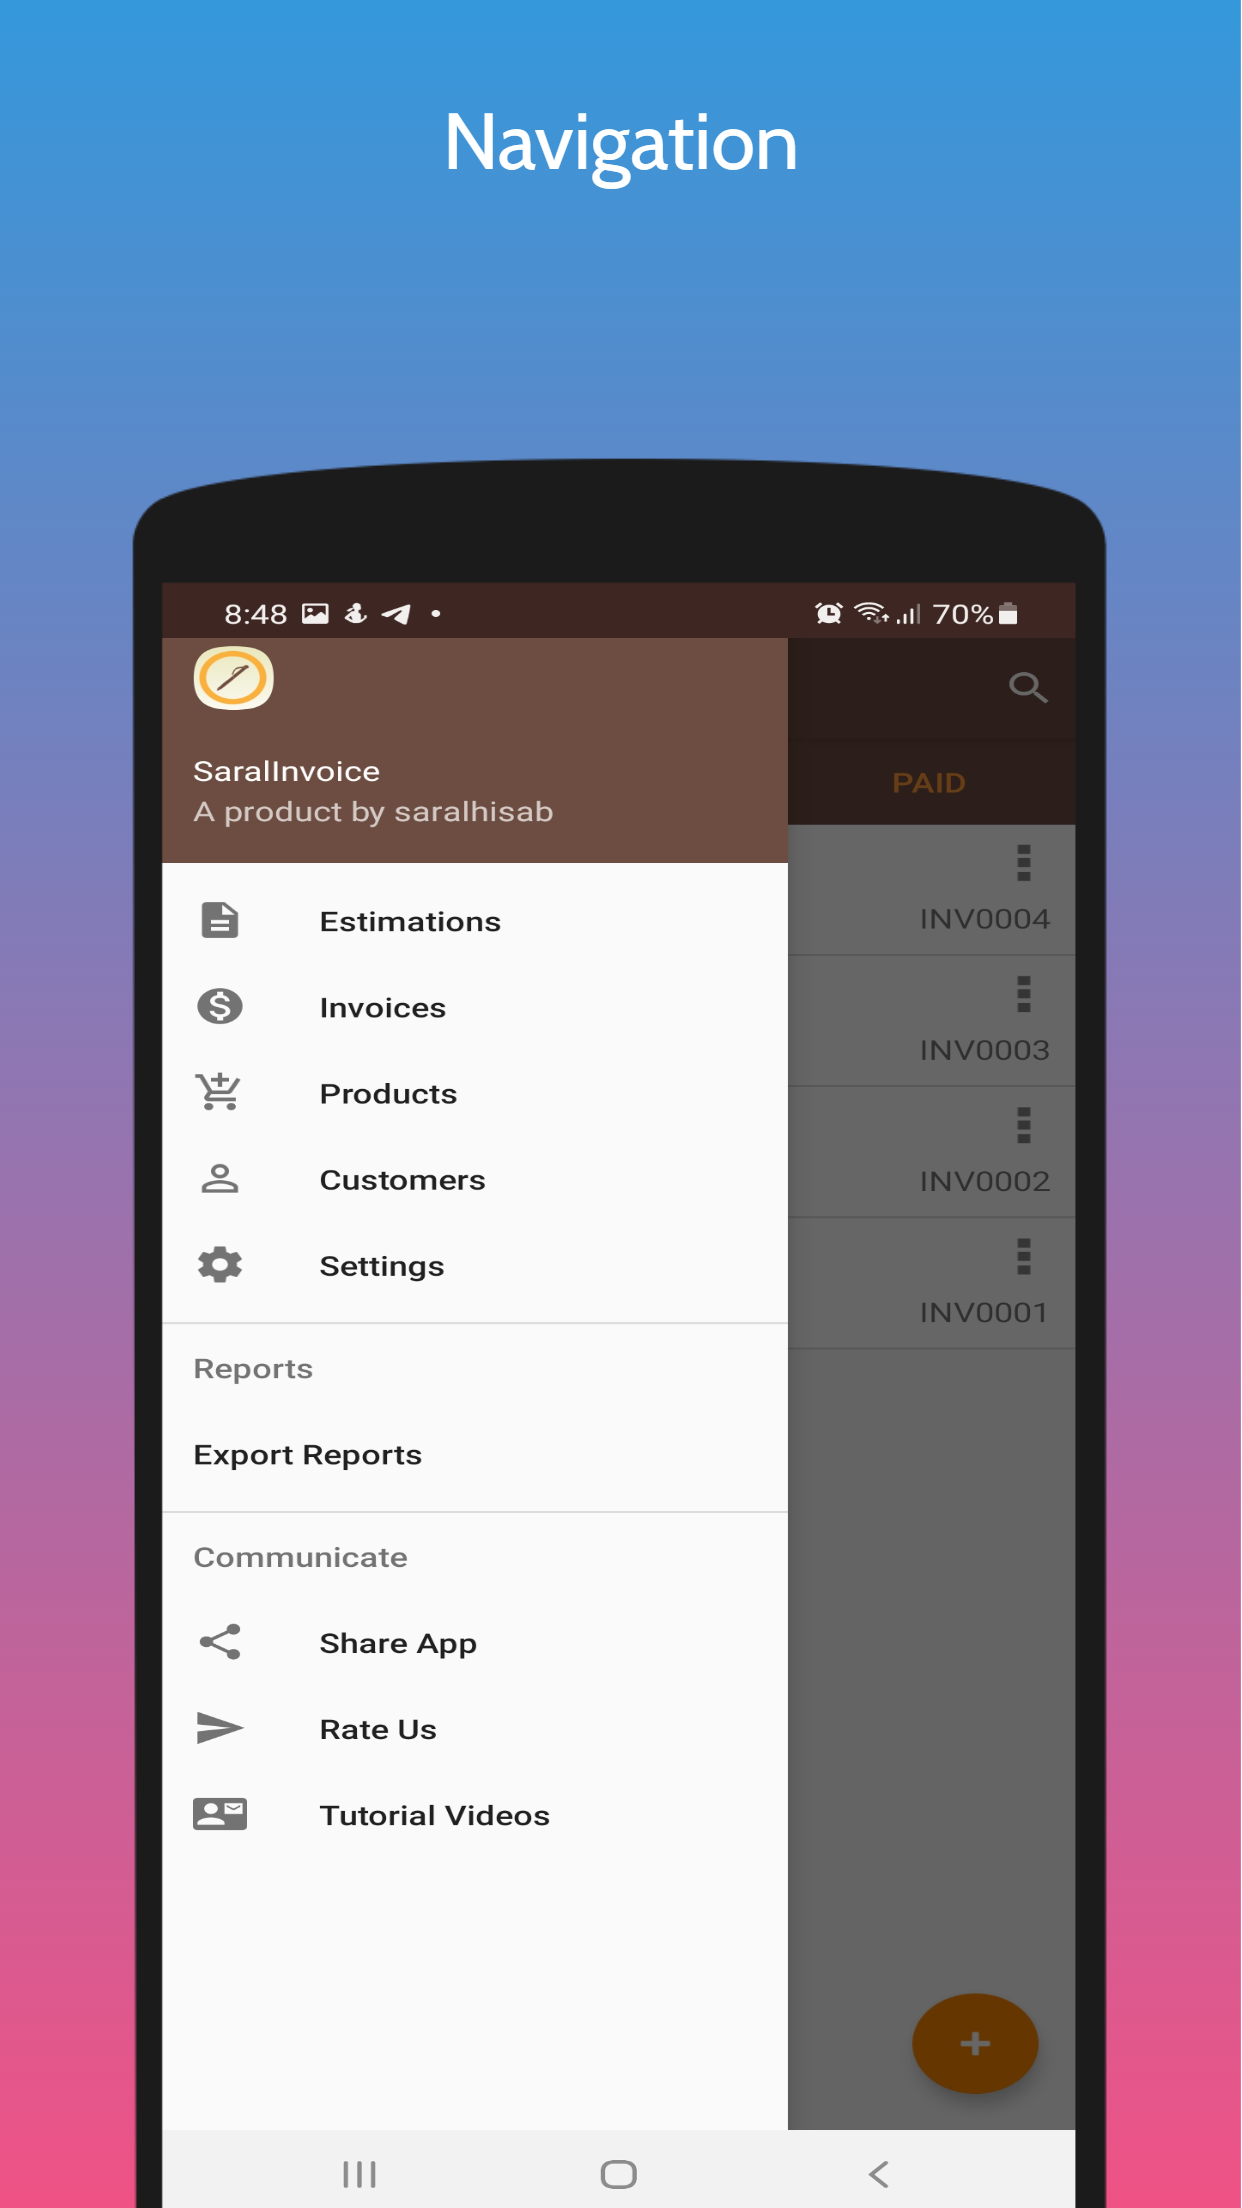
App Navigation
- Navigate between the main screens of the app.
- Main screens: Estimations, Invoices, Products, Customers and Settings.
- Estimations and Invoices list what you have prepared.
- Settings lets you update business and tax information.
Step 3
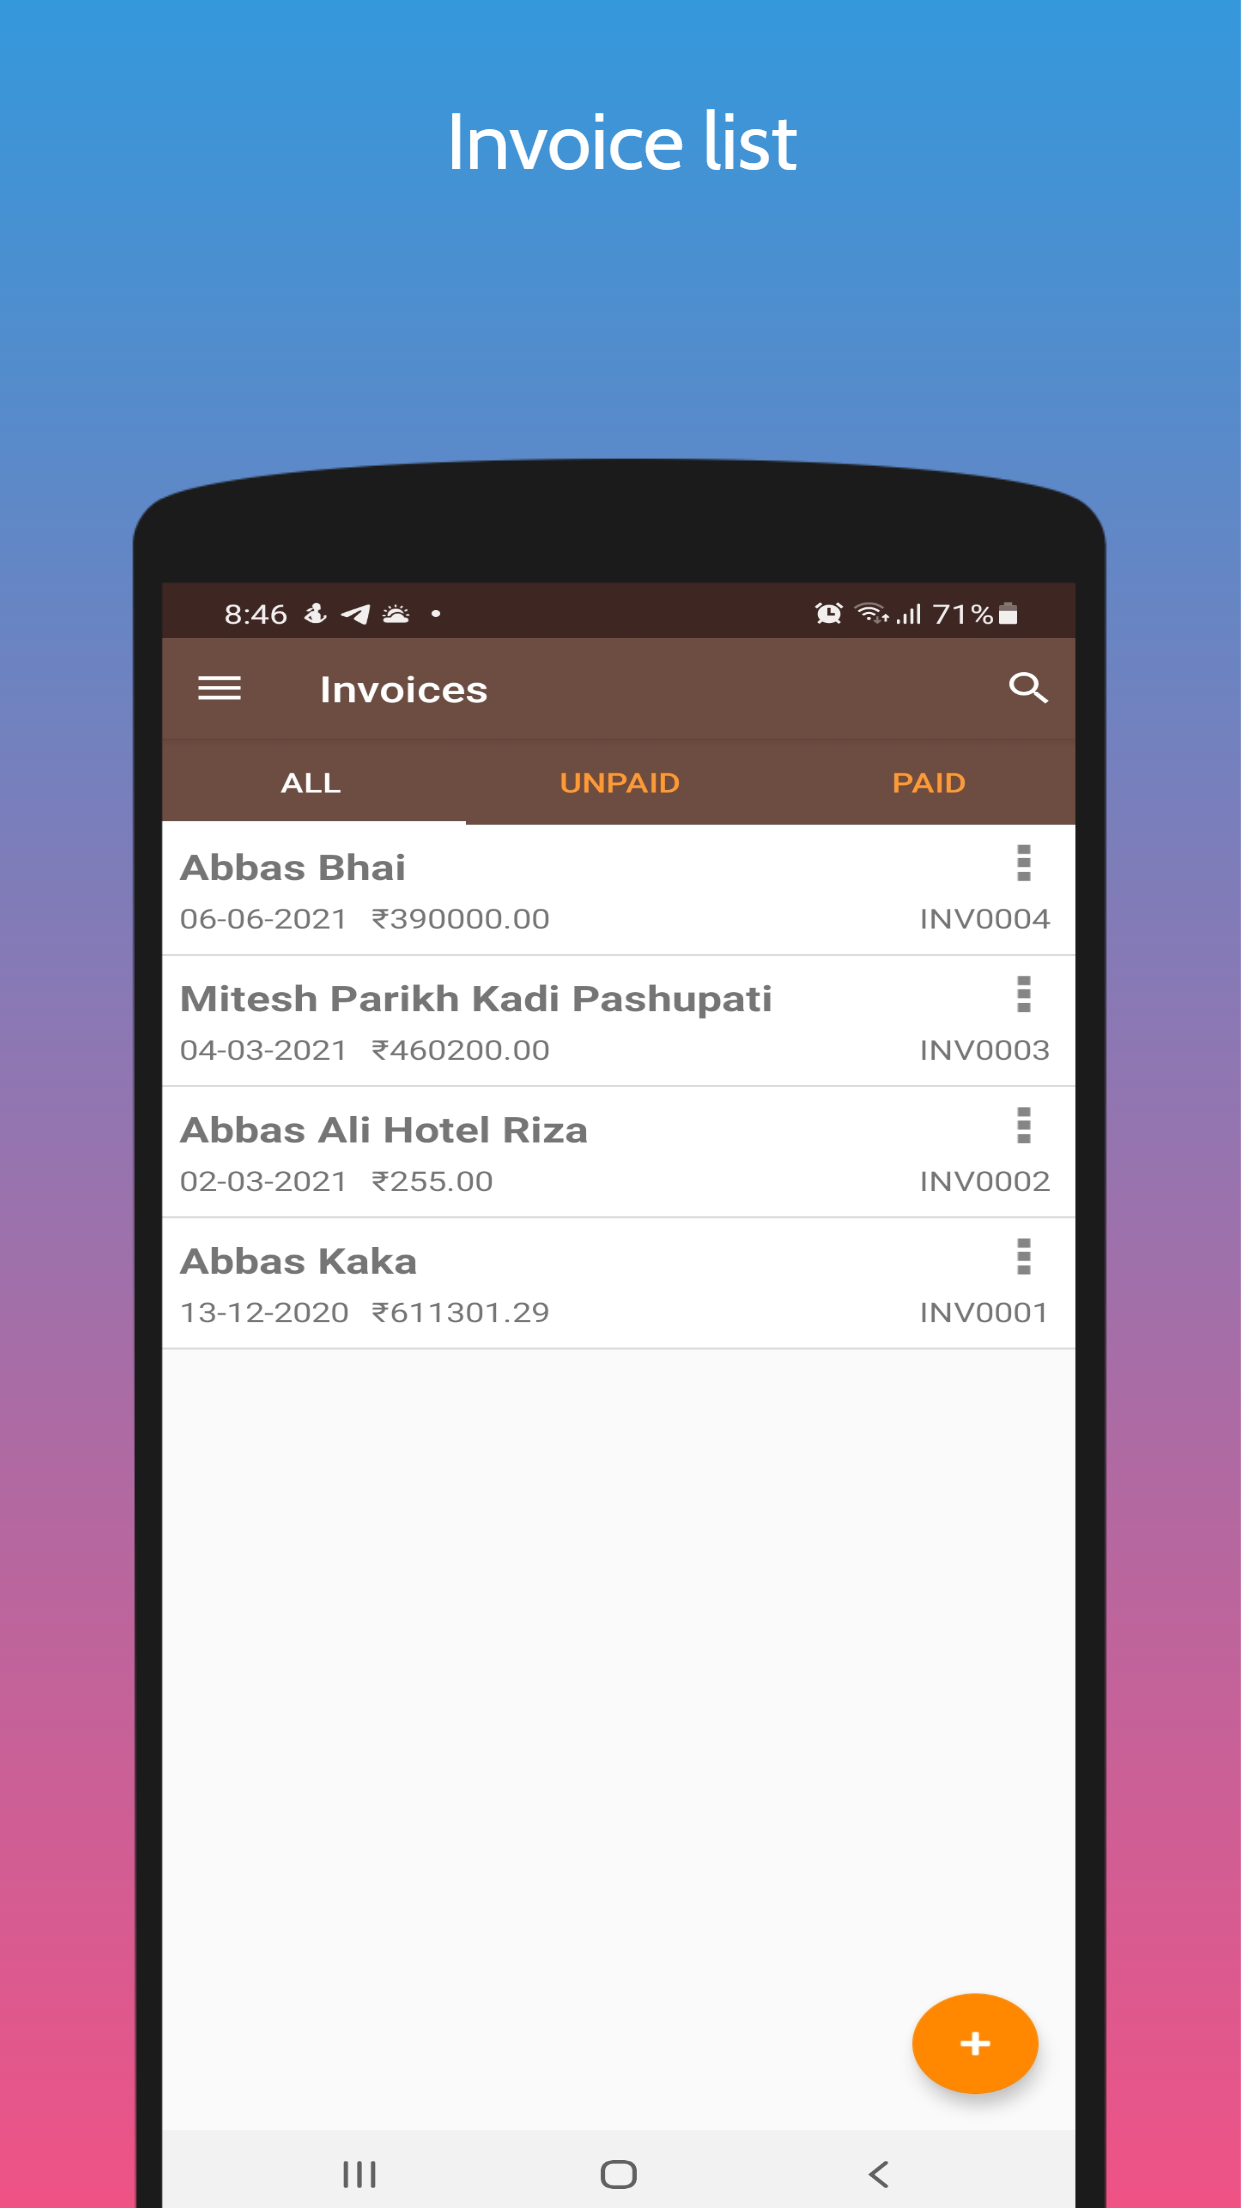
Invoice List
- See all the invoices you have prepared.
- Each item shows the invoice date and total price.
- Tap the search icon to find an invoice.
- Use the three-dot menu to edit an invoice.
Step 4
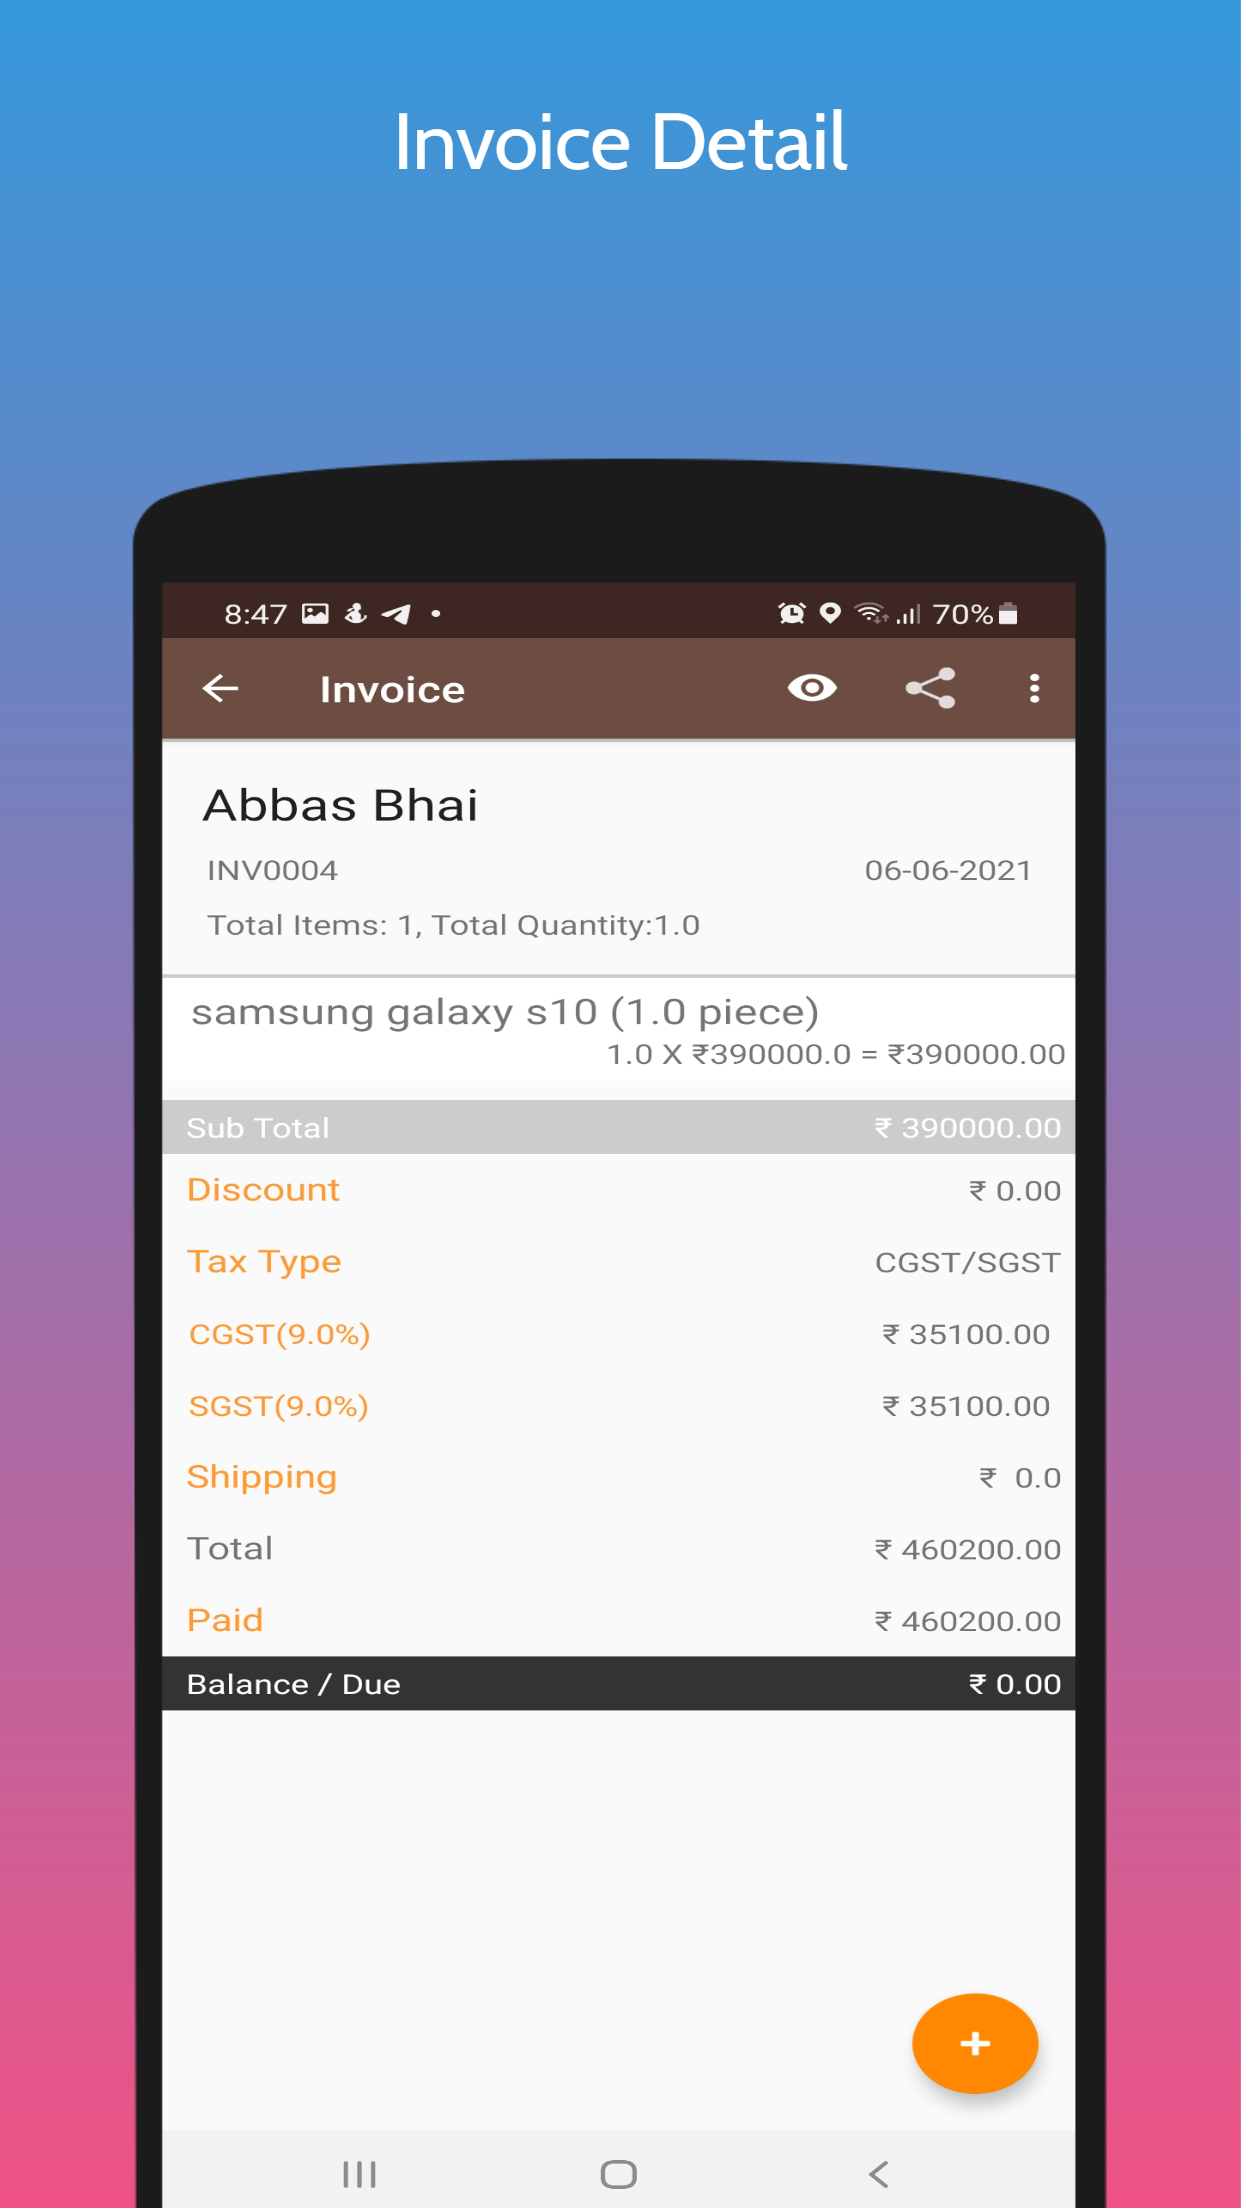
Invoice Detail
- Add or edit products within the invoice.
- TAX: configure GST, flat tax, or no tax.
- Other Charges: add delivery, loading and similar charges.
- Note & Total: add a note and see the final amount.
Step 5
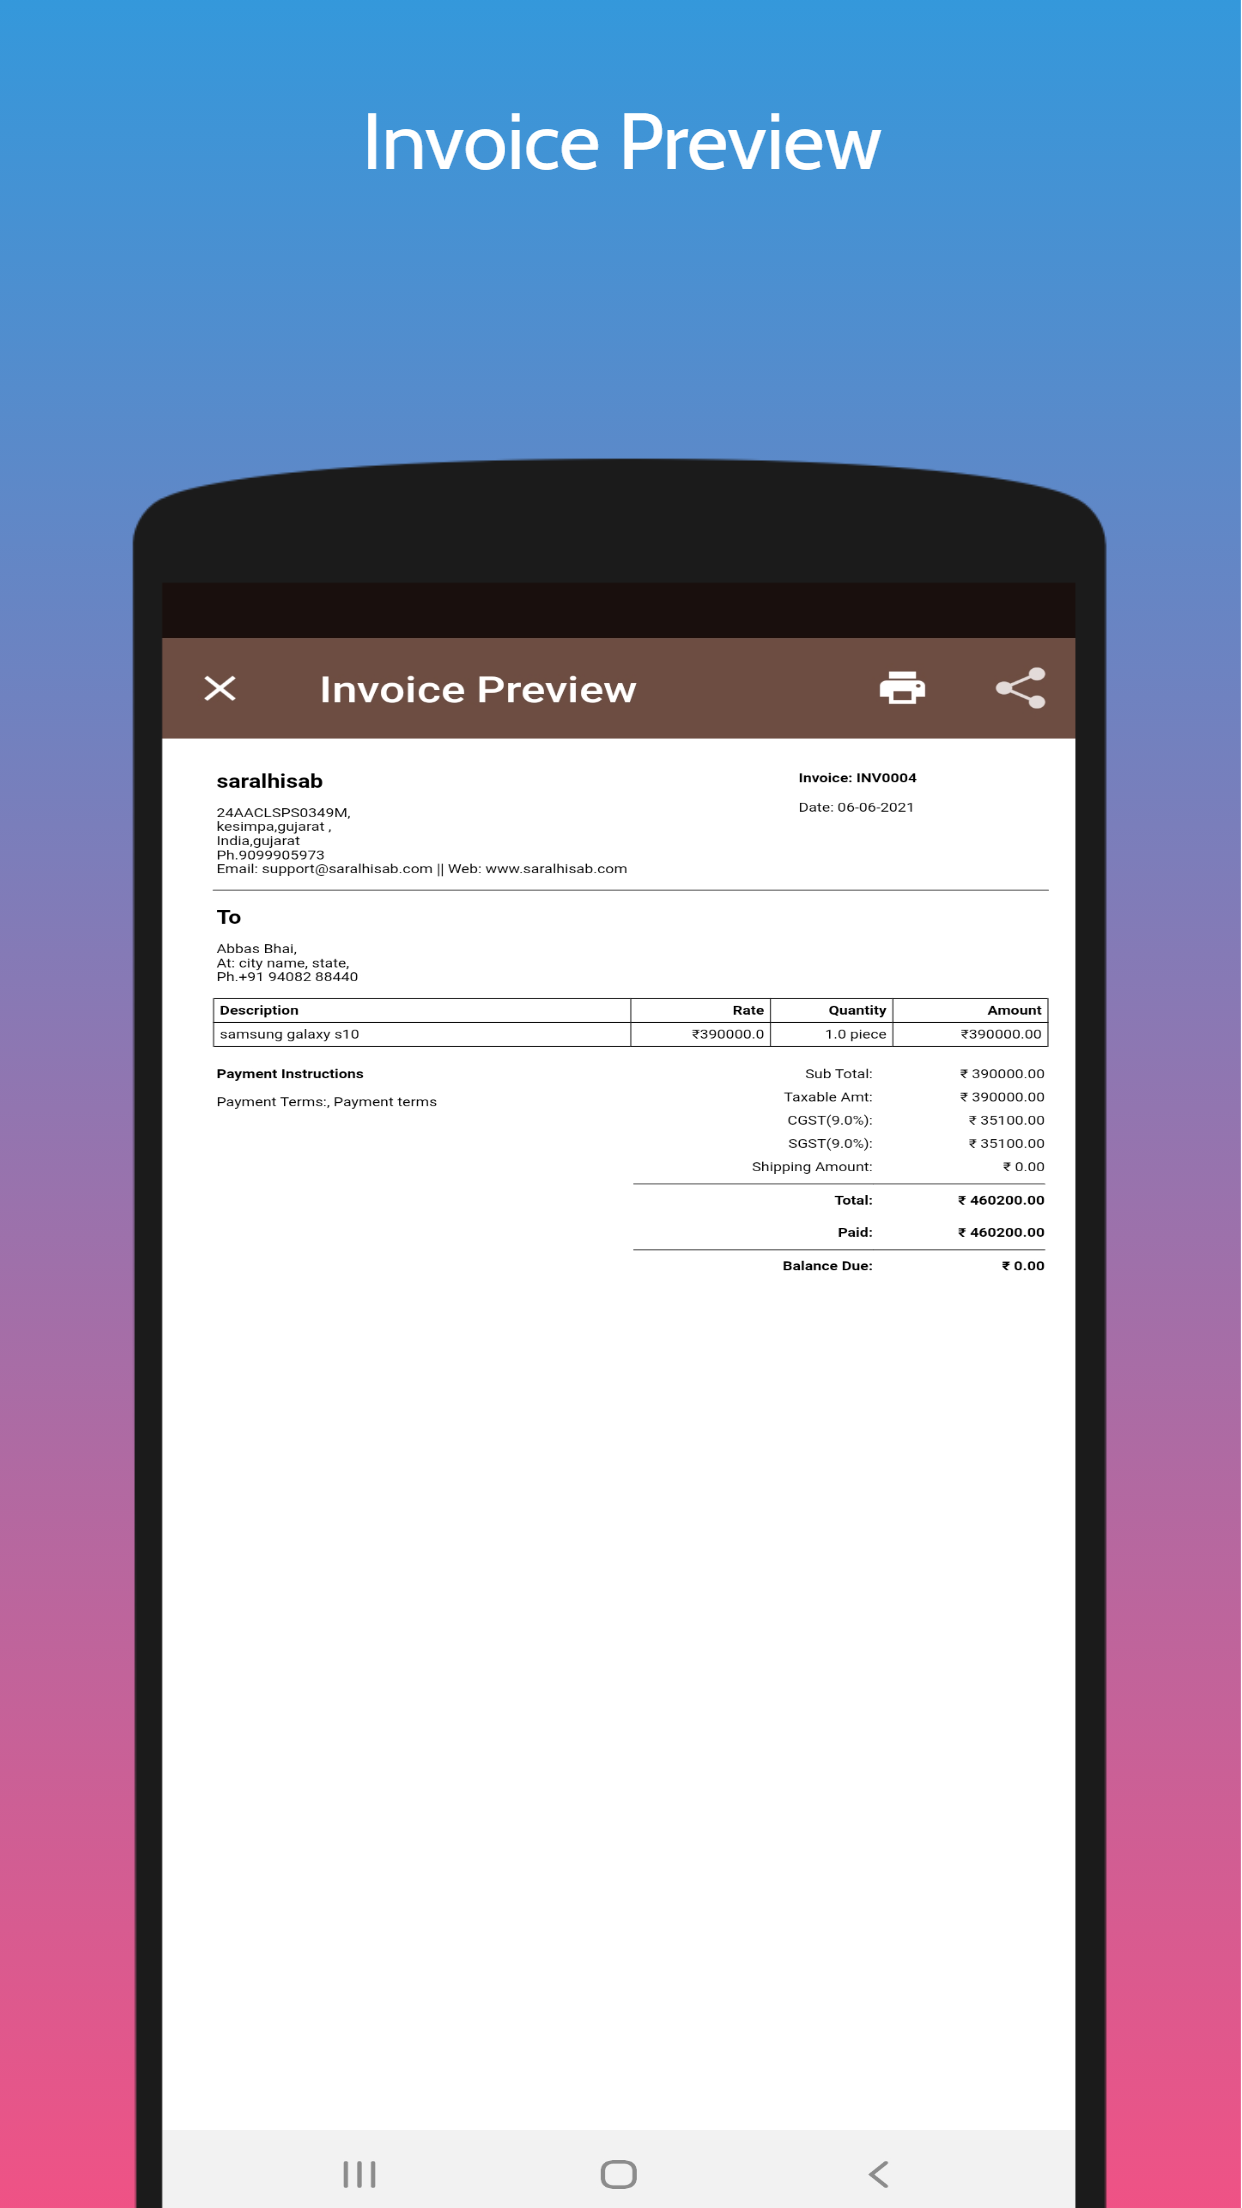
Invoice Preview
- See a full preview of the invoice.
- Business name, address and date appear at the top.
- A table lists each line item, quantity and rate.
- Terms and conditions load from your settings.
Step 6
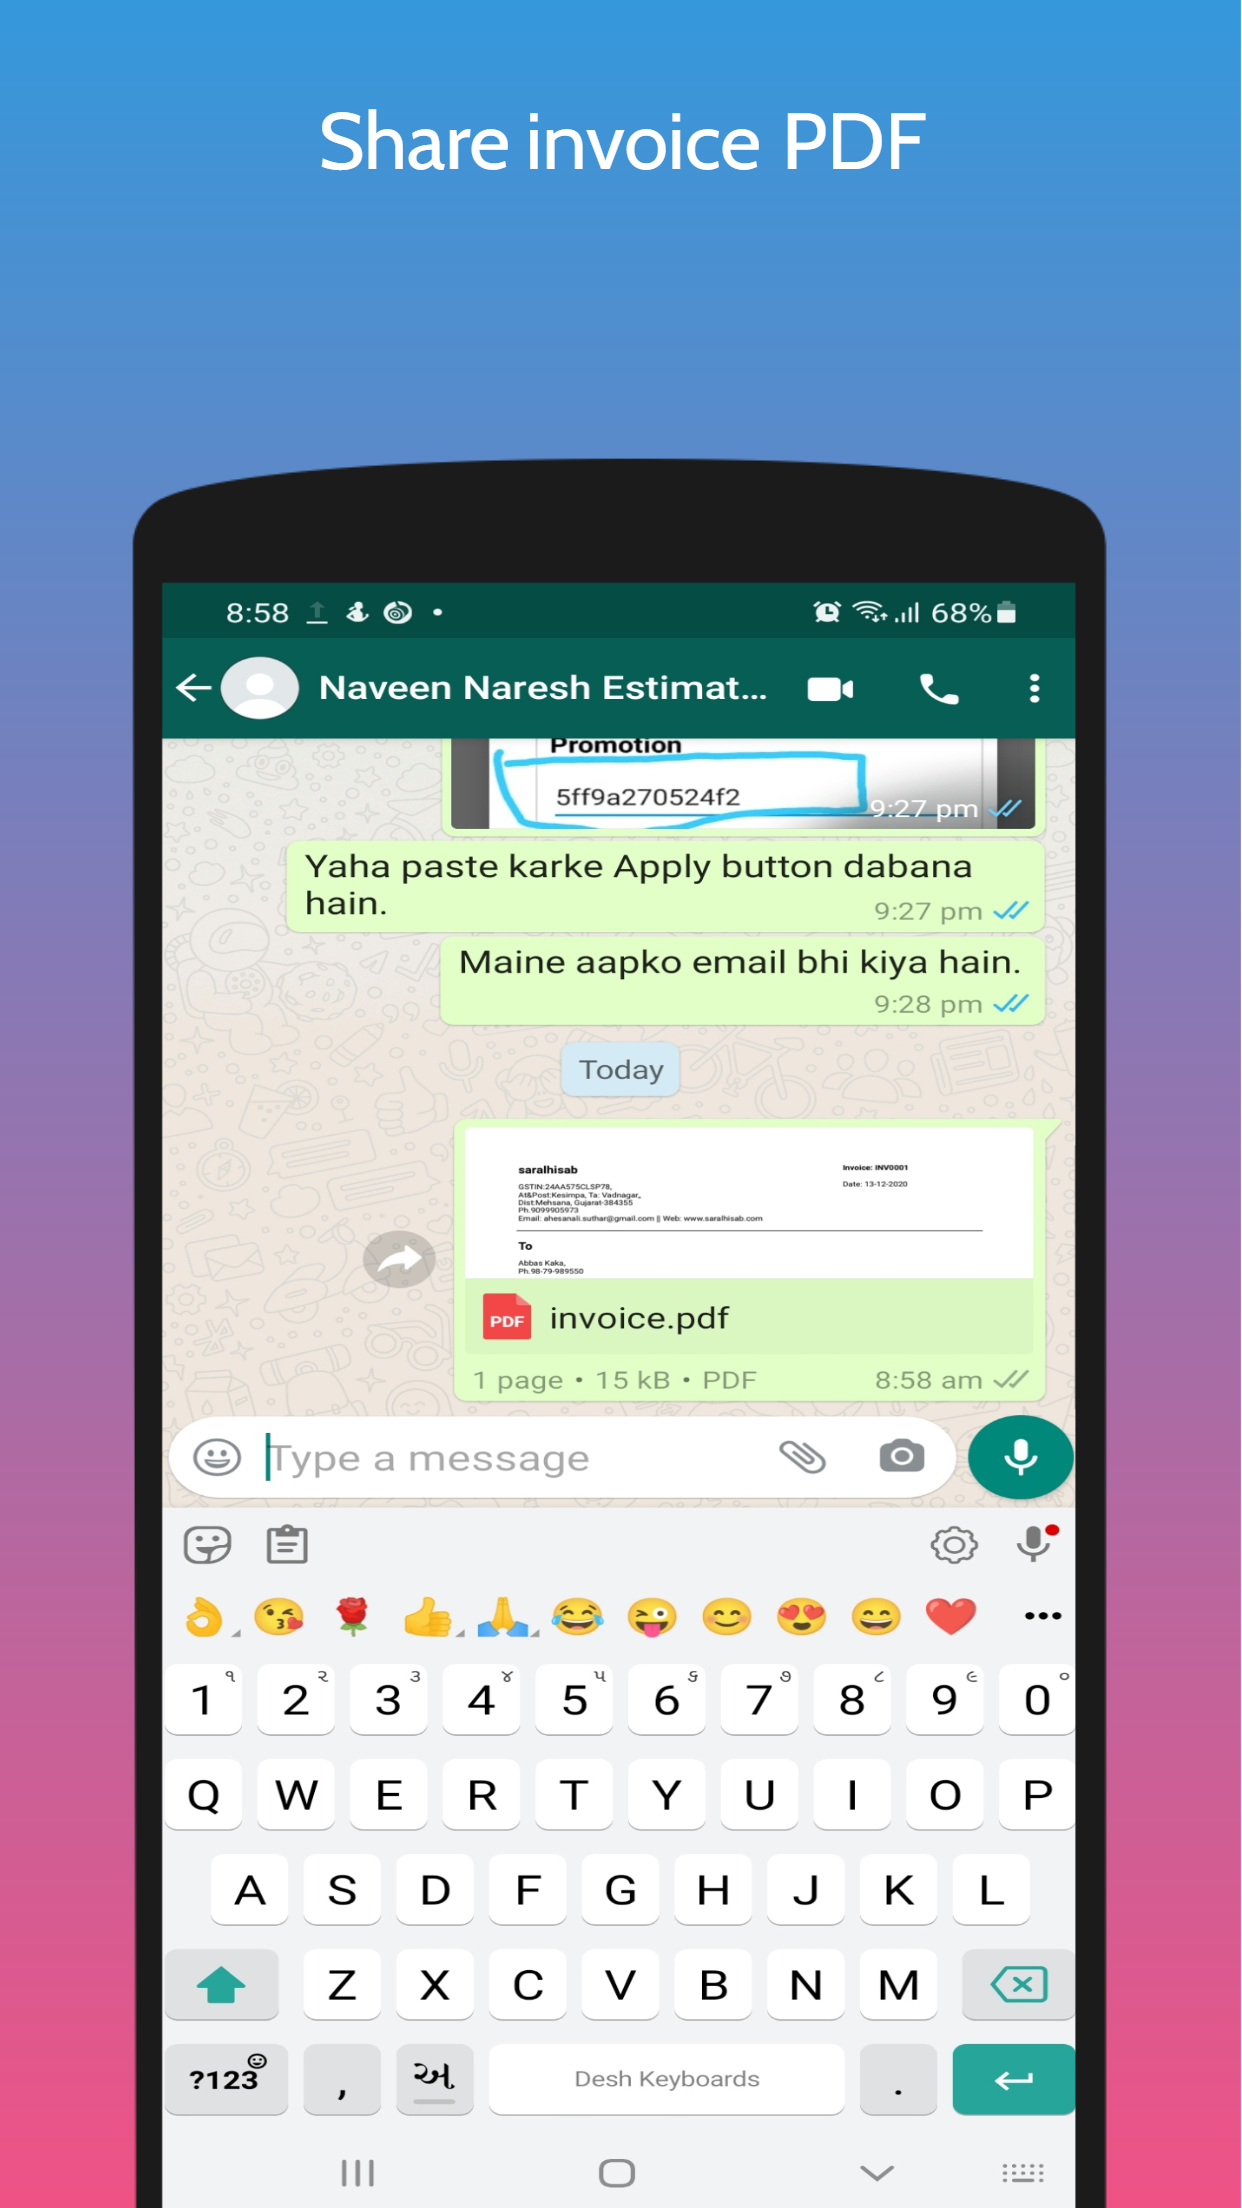
Send Invoice PDF
- Tap Share in the preview screen.
- Choose from three formats: PDF, CSV or Simple Text.
- Pick the app to share through and add contact details.
- Send the invoice PDF to your customer.
Step 7
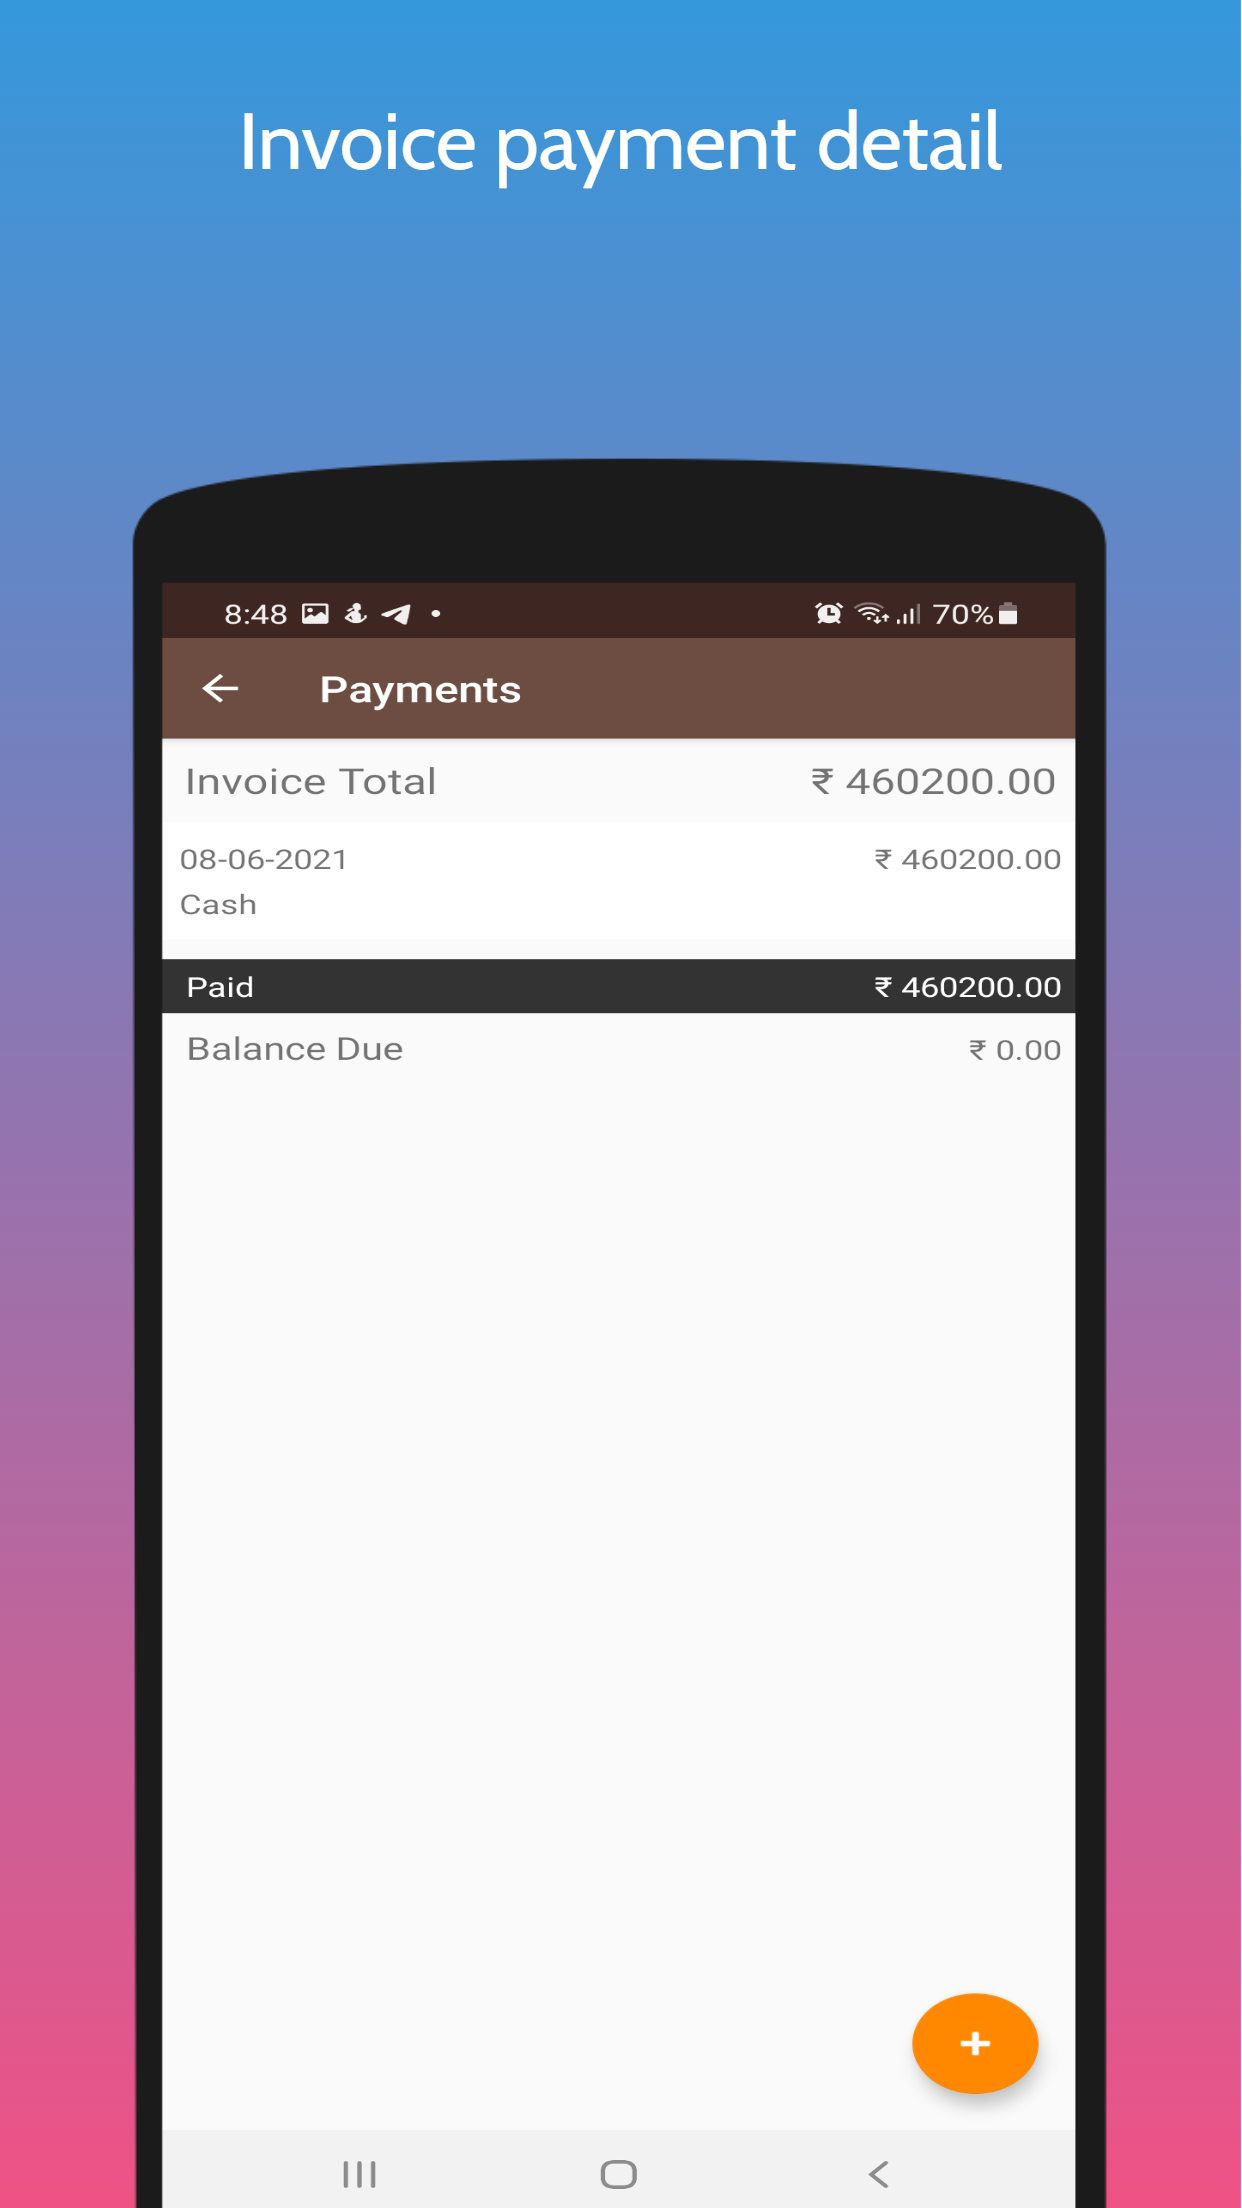
Invoice Payments
- Save partial payments against an invoice.
- All payments received on an invoice are shown here.
- See the invoice amount and the remaining due.
- Add a new payment entry with the + icon.
Step 8
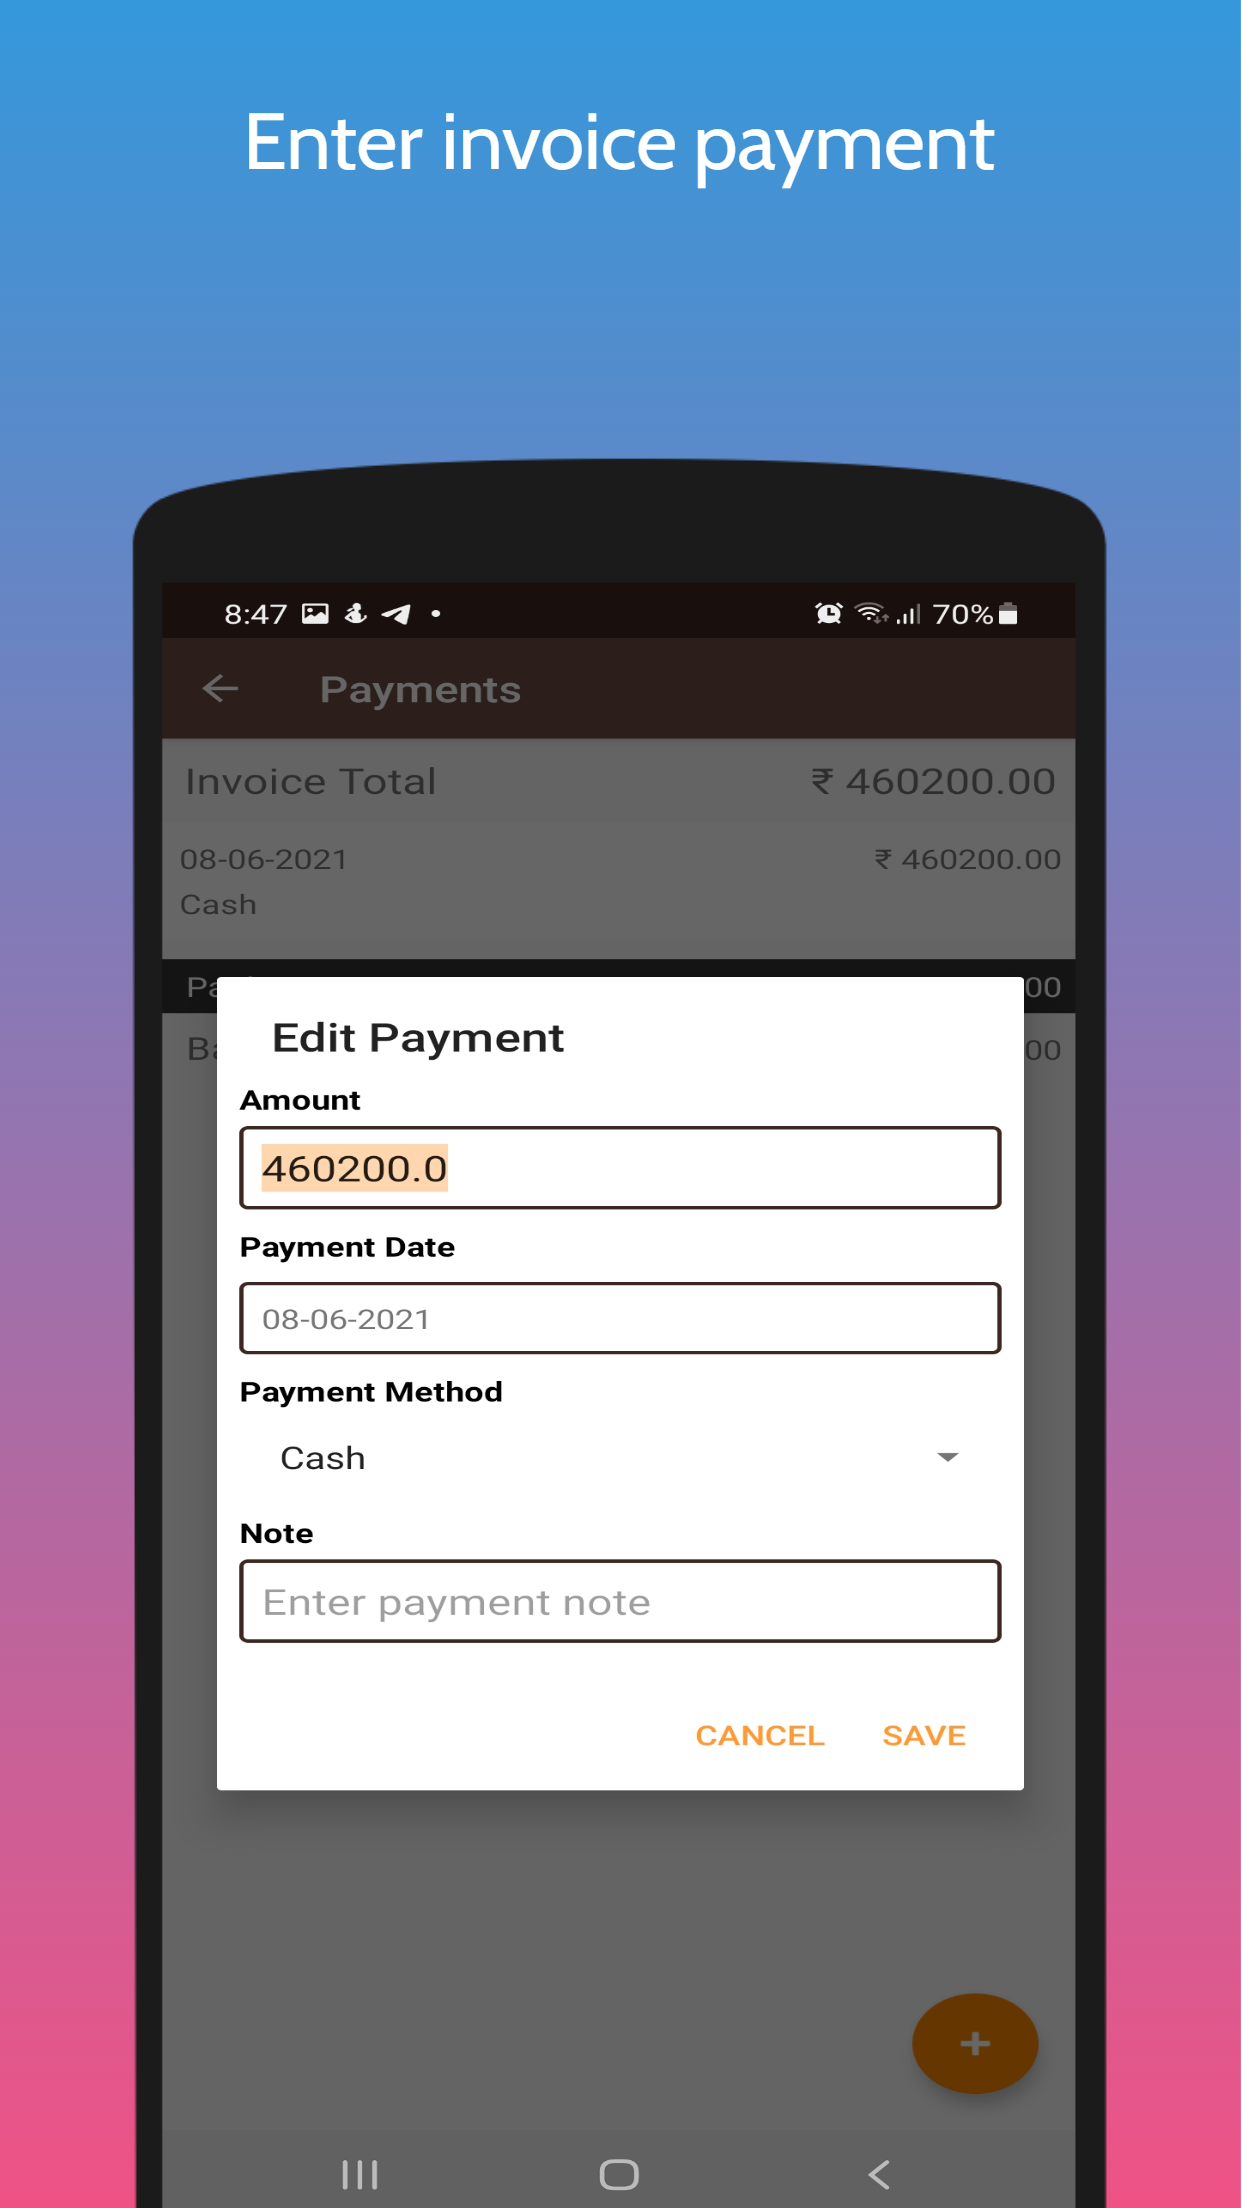
Record Payment
- Tap + on the payments screen to add an entry.
- A dialog opens to enter payment details.
- Add amount, date, payment method and a note.
- Save, and the payment appears on the payments screen.
Just ₹200 per month
Download SaralInvoice and get started today.